Have you tried tempeh before? Wait til you try your first fresh homemade tempeh - you'll never want to go back! It has a fresh nutty flavor and tastes much better than store-bought. Here is a complete guide on how to make tempeh at home. I've also included some questions and answers at the end.
I've made this post in collaboration with Natalie from Zana Wellness. Go check out her inspiring blog on mindfulness, productivity and a healthy lifestyle in general and her post on foods that are good for your gut health.

What is Tempeh?
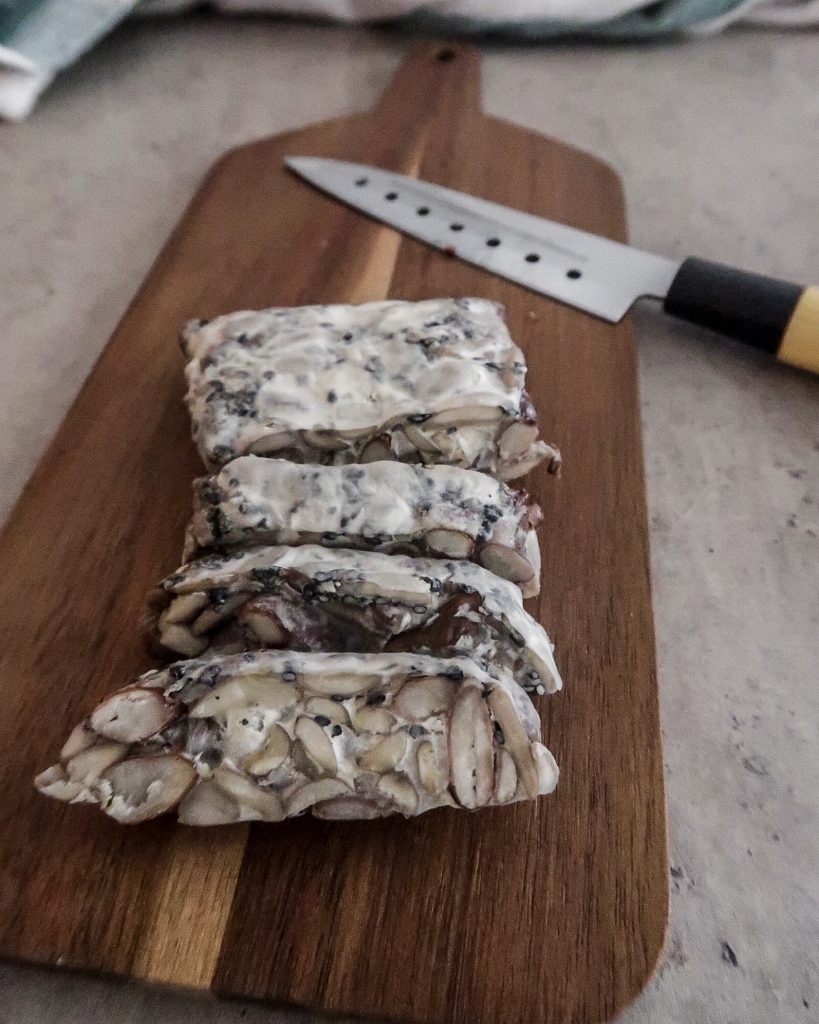
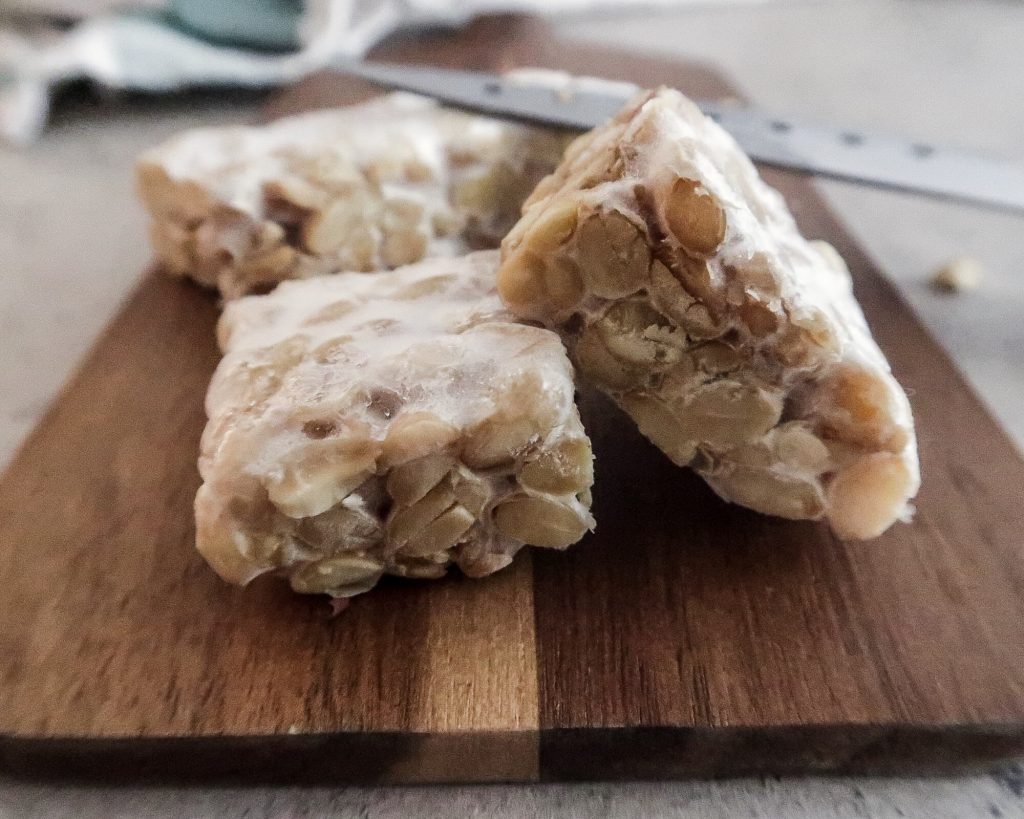
Tempeh is a traditional Indonesian food that is made with fermented soybeans. Through controlled fermentation, the soybeans essentially form a white soybean cake. The fermentation creates such a strong binding between the beans that you can even slice it!
Due to the fermentation process, the soybeans become more easily digestible. Furthermore, tempeh is a great source of protein and fibre. It has a nutty and savory flavour. You can marinate it, fry it or bake it and use it on sandwiches, burgers, salads, stews, currys...
Why You Should Eat Tempeh
Tempeh is a fermented food. Fermented foods help to balance your body and promote gut health. They furthermore improve our immune function and wash out unhealthy bacteria out of our body. You can read more on gut health and what foods promote gut health
here.


Why You Should Make Your Own Tempeh
Making your own tempeh at home does require some preparation and it is not ready overnight. I still think it is worth it. I find that homemade tempeh tastes a lot better than store-bought tempeh. The fresh nutty taste really is even fuller and you can also enjoy it raw!
Additionally, you get to customize your tempeh and experiment with different types of legumes and grains. Soybeans may be the traditional and most common way to make tempeh, but there are so many more (also soy-free) alternatives.
I also find it quite fascinating (and also a little bit scary) to watch the mold on the tempeh grow. Making your first homemade tempeh is so rewarding, you'll feel like a kick-ass professional chef!
What You Need to Make Tempeh At Home
You'll only need a few ingredients and utensils to make tempeh at home:
- soybeans or another legume/grain (obviously)
- tempeh starter: contains Rhizopus mold spores that grow when you ferment the tempeh. They bind the soybeans.
- vinegar (like apple cider vinegar): adding vinegar creates an acidic environment. This is important to prevent the growth of unwanted bacteria.
- a warm place: like an incubator or simply an oven with the light on. Temperatures of 30-37°C (85-98°F) work best to make tempeh.
- vented container: like a zip lock bag or banana leaves to keep the beans together and promote air circulation.
How to Make Tempeh: Step by Step
When making tempeh, it is important to follow a certain order of steps. This may seem a little bit complicated to you at first - I felt the same. But after making it a few times, you quickly get the hang of it.
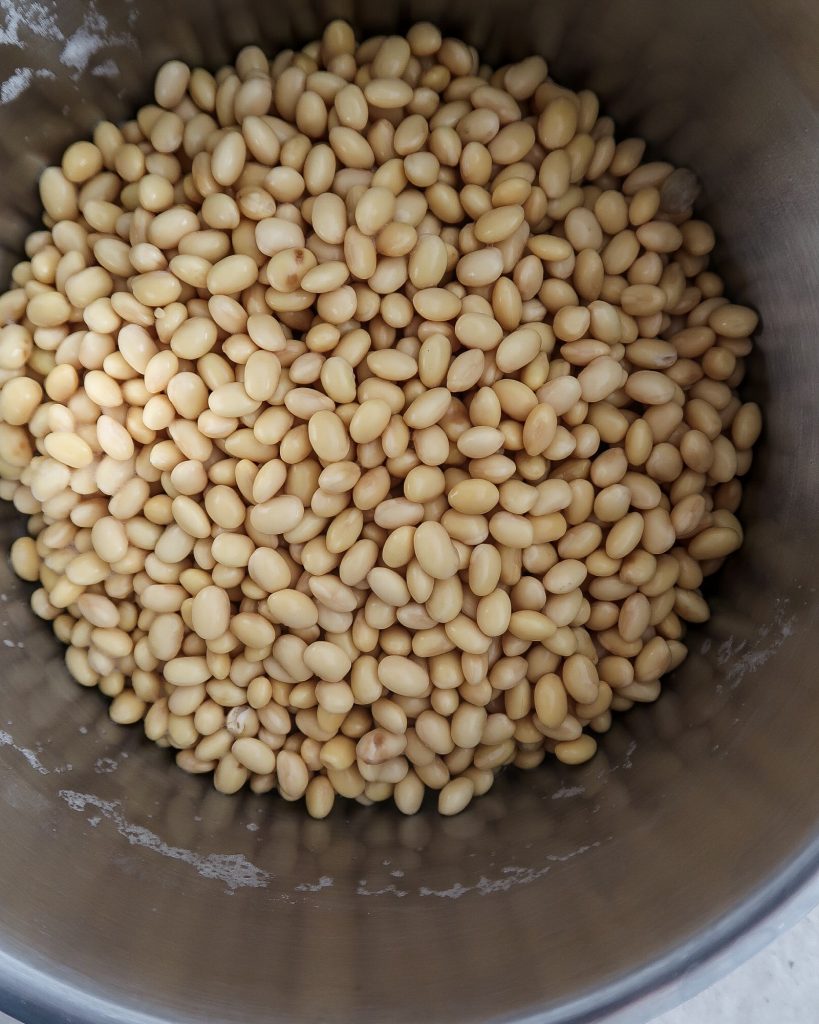
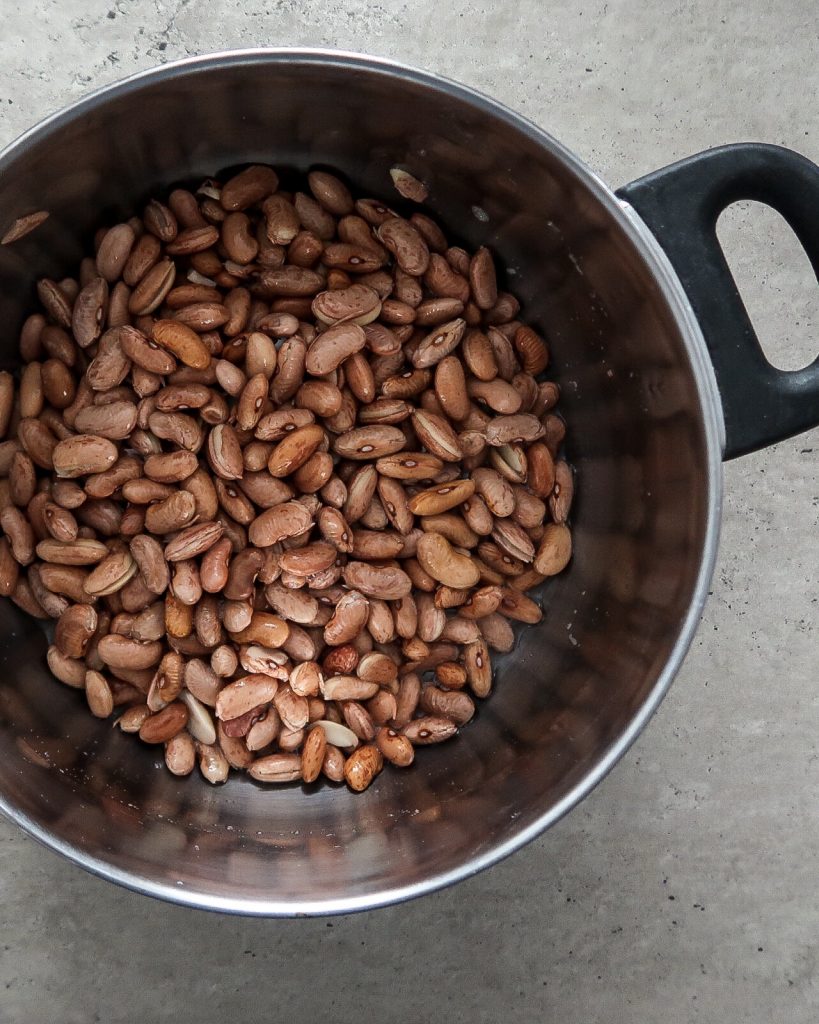
Step 1: Soaking Your Beans
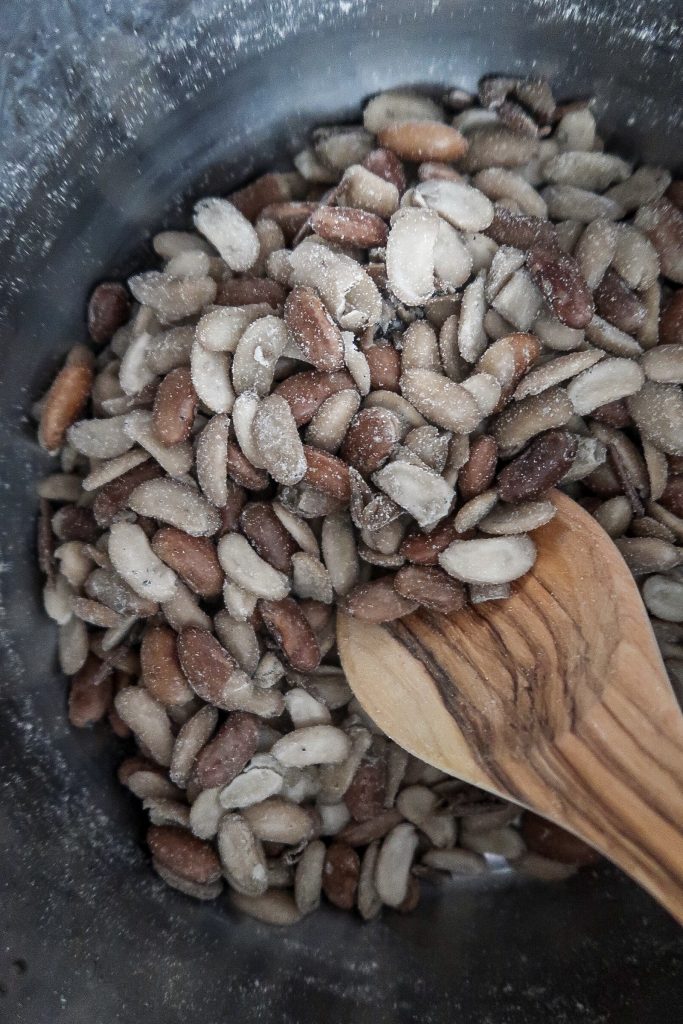
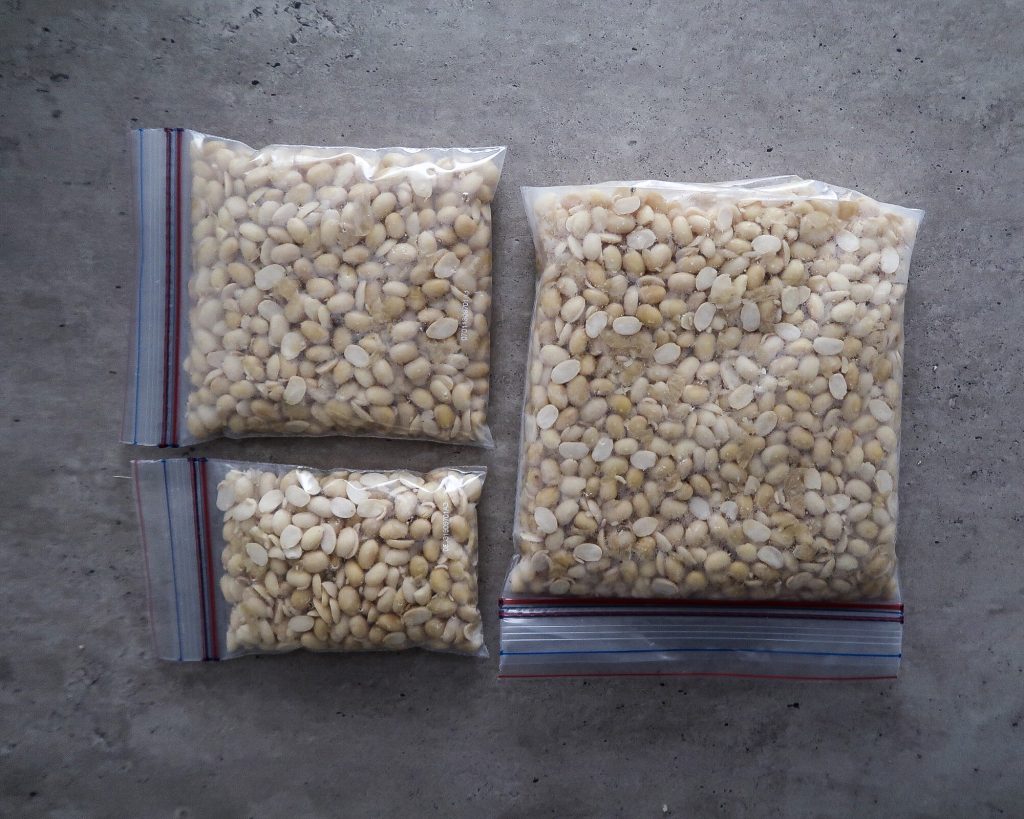
The very first step is to soak your beans in water - preferably overnight. Aim for 16-24 hours. As you can see, I went for the traditional soybeans and also a pinto bean tempeh because I wanted to experiment a little. If you're using soybeans, you can use 600g soybeans and 2 litres of water. They really do expand a lot so use a big pot!
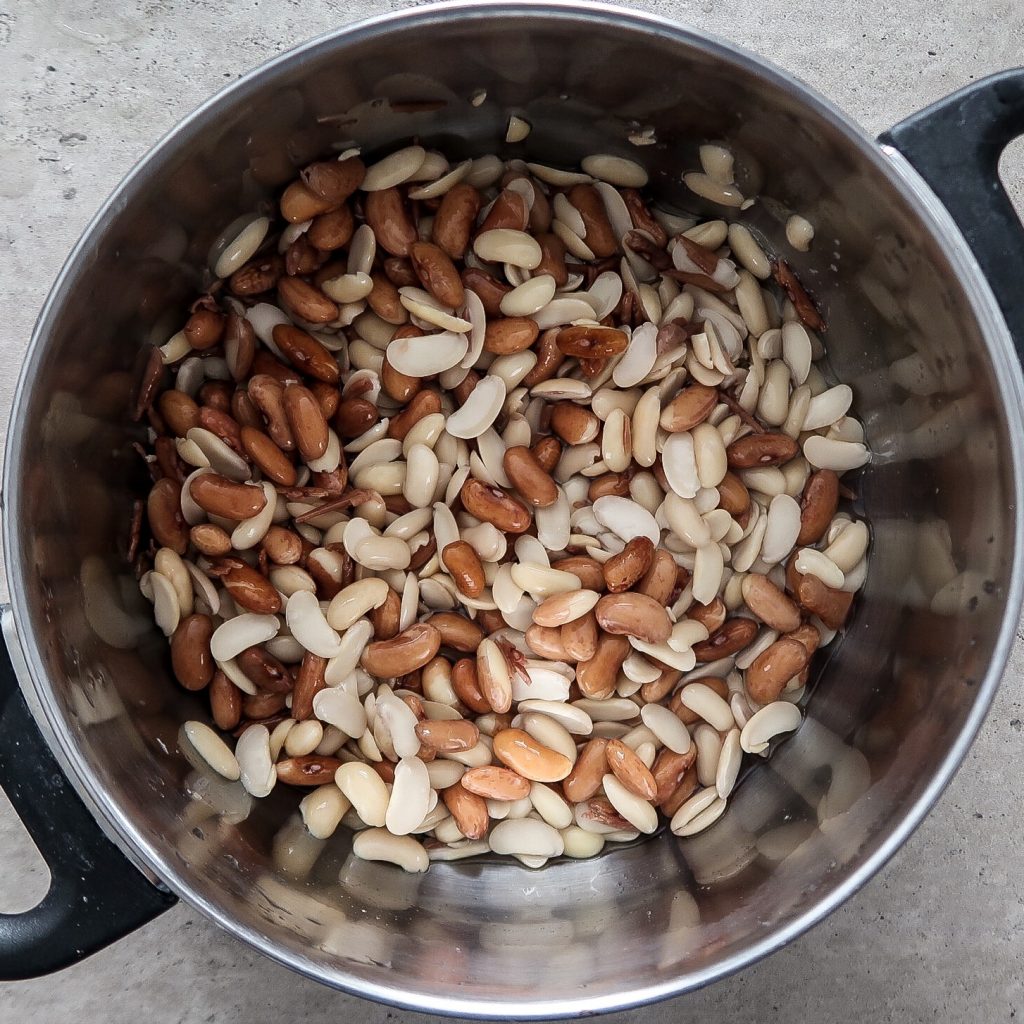
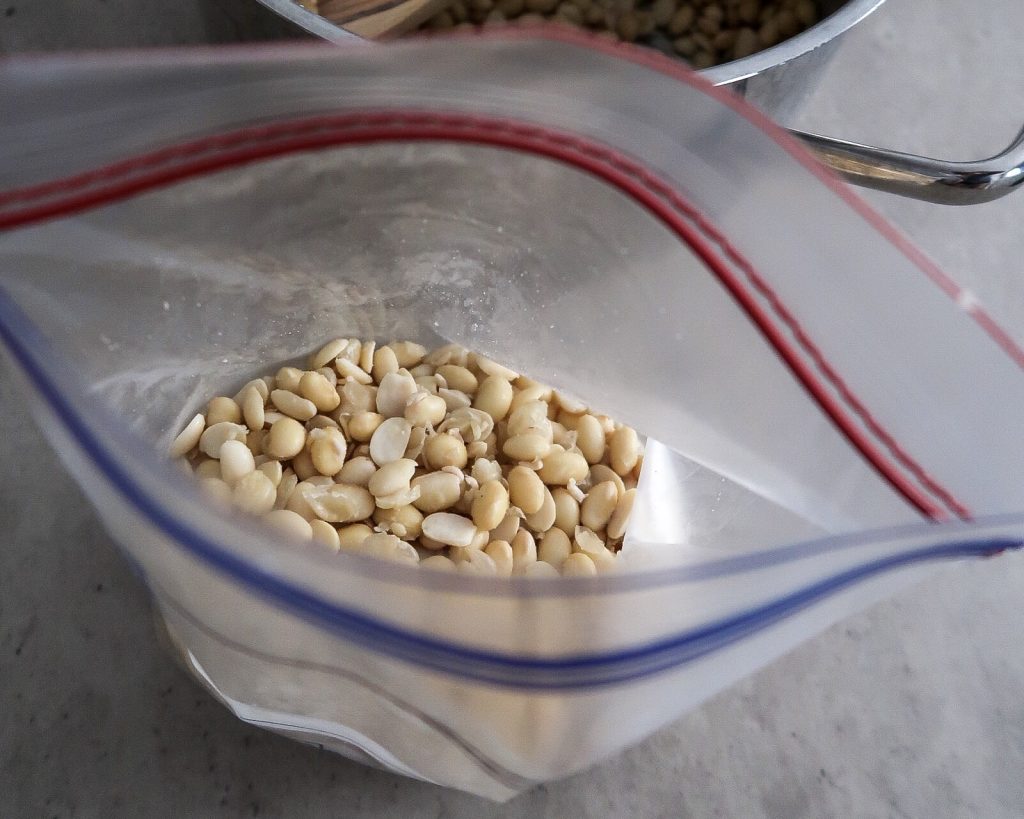
Step 2: Massage and Dehull Your Beans
After your beans have soaked, it's time to dehull them. You can do that by massaging them in the pot of water so that the skins come off. Don't try to be gentle here or worry about the beans breaking - that is totally okay and even desirable. Stir the water occasionally and the hulls will float on top and you can remove them.
I've read that it is not necessarily required to dehull the beans and it works without this step as well. I haven't tried that yet, so I cannot confirm. But I will test more and update this post.
Step 3: Cook Your Beans
Add the vinegar and cook the beans for 30-45 minutes (for soybeans). If you're using 600g soybeans, add 5 tbsp. The cooking time may vary depending on the kind of bean or grain you use. It also depends on your preferences. I like to cook mine until I can just eat them but they are still very firm.
Step 4: Dry and Cool Your Beans
Remove the water from the pot and add the pot with the beans back on to the heat. You want to make sure the beans are proper dry before you continue with the next step. It is important to remove as much of the moisture as possible or the mold will not grow as good.
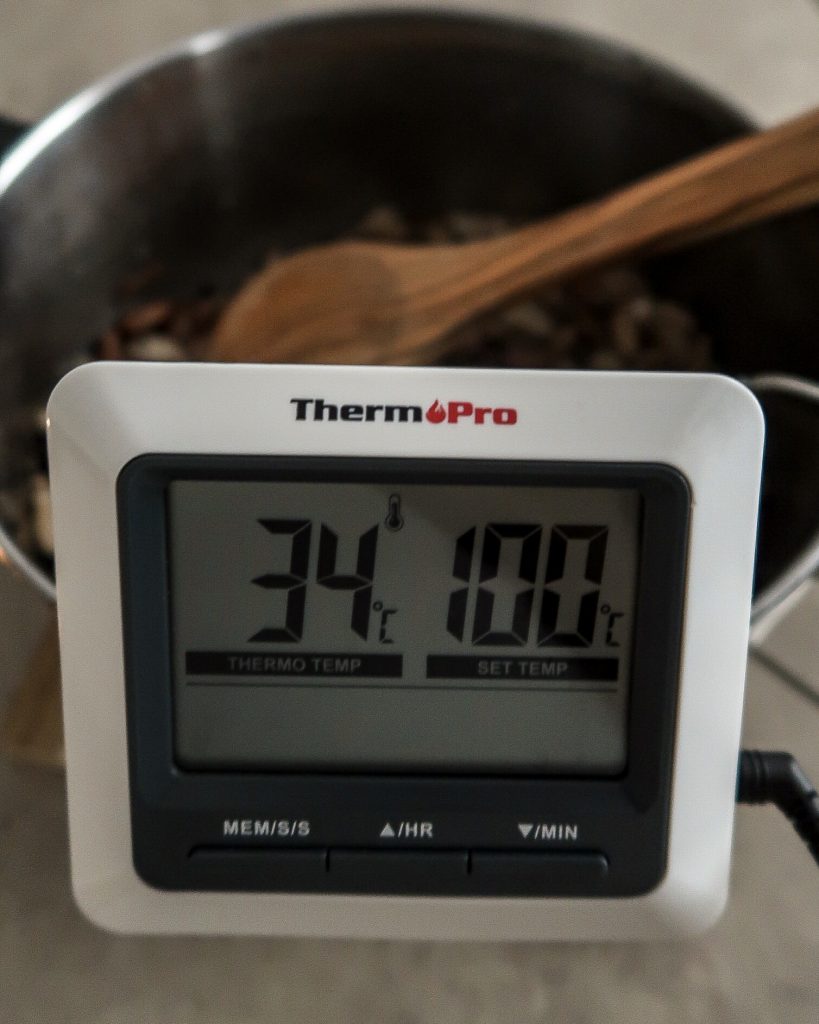
When the beans are dry, you also want to cool them a little bit before you add the tempeh starter. I usually go for a temperature of around 35°C (95°F).
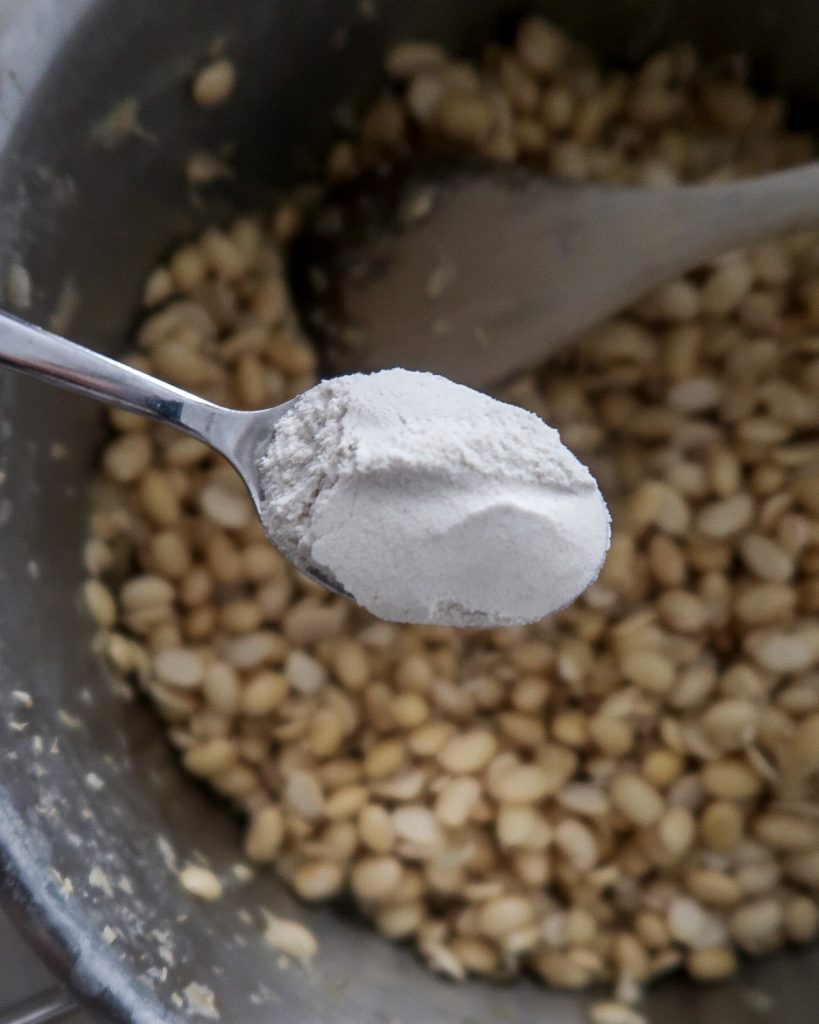
Step 5: Add Tempeh Starter
Now you can add the tempeh starter. If you're using 600g soybeans, add 1 tsp. Mix well so that the Rhizopus mold spores are evenly distributed. Next you can fill it into your containers/bags. If you're using zip lock bags, you need to add a few holes with a fork or needle to help with the air circulation.

Step 6: Ferment and Wait
Place the tempeh parcels into the incubator, oven or whatever warm place you are using. It can take between 24-48 hours until the tempeh is ready and completely covered in mold. You should keep the temperature at approximately 30-37°C (85-98°F). If it is too cold, the mold will not grow. If it is too hot, the bacteria dies and you don't get any mold at all.
How to Make Your Own Tempeh: Questions and Answers
Making tempeh at home can seem like a daunting task at first - and there definitely is a steep learning curve. Here are a few tips and tricks for you.
Where can I buy a tempeh starter?
I like to buy mine here from TopCultures. Make sure that you store your tempeh starter at a dark, dry place so it remains active.
Do I really need a tempeh starter?
Yes! The tempeh starter (active Rhizopus spores) is what creates that white binding layer between all the beans. Similar to yogurt, you need a starter culture to get the fermentation going.
I can't eat soy. Can I make soy-free tempeh?
Yes! Soybeans are the most common beans to make tempeh but that doesn't mean there are no alternatives. You can use pretty much any kinf of legume or grain such as black beans, chickpeas, sunflower seeds, (brown) rice, pinto beans, mung beans or - my personal favorite which I have yet to try - peanuts!
What if I don't have an incubator?
Don't worry - you can still make your own tempeh! There are a lot of ways to incubate tempeh. I like to use my oven - I simply turn on the light without turning the temperature on and it creates an environment of around 32-35°C which is perfect for making tempeh.
You can also use a cupboard with a lightbulb in it or even an instant pot! Make sure whatever you use has good air circulation. I like to crack my oven open every once in a while. I also place my tempeh parcels on a rack instead of a baking tray so there is more space for the air to flow.
What do I make my tempeh in?
The easiest option is probably to use zip lock bags. The advantage is that these are see-through so you can see exactly what is going on inside and if the mold is growing. Alternatively, you can use traditional Indonesian banana leaves or a glass/ceramic dish with a lid on. Don't use a container that is too deep - aim for 1 inch. Otherwise the air will not be able to circulate properly or it will be too dry.
How can I maintain the correct temperature?
You should aim for a temperature between 30-37°C (85-98°F). I use an oven thermometer to monitor the correct temperature. When you measure the temperature, keep in mind that the air around the beans can be a lot cooler than the beans itself.
This is because the beans also produce heat on their own during fermentation. So you might need to reduce the temperature or turn off the light source once the mold starts growing.
Help, there are grey/black spots!
Do not panic - this is totally fine! Black or grey spots are a sign that the fermentation is completed. They are safe to eat. You will know (or smell) if your tempeh has turned bad.
My tempeh is done - what now?
Awesome - congratulations! To stop the fermentation, remove the tempeh from the warm place and let it cool to room temperature. Then you can refrigerate it for up to a week.
If you want to freeze it, you should first steam it for approximately 20 minutes. You can freeze it for up to 3 months.
Help, my tempeh is crumbly!
That is totally fine. You might not be able to make super thin crispy tempeh bacon, but you can still eat it at it still tastes good! If your tempeh is crumbly, I'd recommend cutting dices instead of slicing it or simply cooking it whole and then making tempeh crumble.
Help, the mold is not growing!
Patience. If I can give you one advice - it's patience. Don't worry if the mold does not show after 12 hours. The first time I made my own tempeh, I had precisely followed the instructions but there was no mold after 12 hours like the instruction said. I was worried if I had killed the starter culture because my temperature was too high. I went out into town to run some errands and when I came back in the evening, the mold was growing perfectly! As I said - it takes time.
Have you made your own tempeh before? I would love to hear from you what advice and tips you have! Please leave a comment below if you have any questions and I will try to help you!
[DISPLAY_ULTIMATE_SOCIAL_ICONS]
[instagram-feed]
I have tried making tempeh twice now, but always have condensation forming even though I dry my beans well. Instead of throwing away the current batch, could I just add more vinegar and starter culture to the beans with new plastic bags and containers?
What are you using to make the tempeh? If you are using your oven, I would suggest maybe open the door once or twice in between so the moisture can escape 🙂 Regarding the vinegar/starter culture, I have not tested it myself but think it's worth a try.
Hi, I have tried making soybean tempeh but my tempeh turned out crumbly, I made mine using banana leaves, Any suggestion to make it less crumbly? Thank you.
This could be due to a couple reasons, like the temperature, how long you cooked the soybeans, how active your starter culture is... I'd try adding more tempeh starter and see if it turns out less crumbly. Also, to be honest, mine turned out crumbly a few times, too. But as long as it smells and tastes good, you can just make tempeh bolognese sauce or something crumbled with it. 🙂
Hi Sarah,
thank you for the tips. i am wondering do u have the oven on from 24 hours straight?
Hi Desi, glad they are helpful to you! I don't have the oven on the entire time. I only have the light in my oven on, but no heating. Then I have an oven thermometer which I monitor every couple of hours and I turn the light off if the temperature rises to high. And after 24-48 hours, the tempeh produces enough heat on its own so I don't have to even leave the light on. I think in the end it depends on the oven.
How much vinegar?
It depends on how many beans you use. It is roughly 1 tbsp per 100g of dry beans.
I have made the tempeh as directed but nothing is happening in the oven. It is past 12 hours. With the light on the overn feel very warm
Hi Esther,
Don't worry - it is quite normal that after 12 hours nothing has happened yet. How is it after a day?
And how hot is the temperature in the oven? You want to measure directly near the beans, because there it tends to be warmer than in the oven itself.
Love your content and whole aprroach to maintaining a website. Please keep it up
i left my tempeh on the oven with light on on the top rack. nothing happens. it changed color becomes black and smushy. no spores. is that too hot? should i place it to lower rack? Thank you
Could be a lot of things going on. Black and smushy does not sound like what is supposed to happen. 🙁 Some black spots towards the end are totally fine and normal, but it sounds like it turned all black?
Do you have a thermometer to check the temperature inside the oven? For the low temperatures we need to make tempeh I don't think the upper/lower rack plays a huge difference...
How do I know when the Tempeh is ready? How long does it take? Doesn’t say anywhere. How do I know?
Has anyone tried yellow peas?
Hey Christine, it can take between 24-48 hours, maybe a little more, until the tempeh is ready. You know it is ready when it is completely covered in mold.
Hi Sarah! I have started twice tempeh but after around 18 hours, the bag has a lot of condensation and the mold starts to turn black. The white mold has grown but it is still crumbly. Is that ok? How can I manage condensation?
Hi Victoria! There's a few things you can do to reduce condensation. Make sure your beans are really dry after cooking before you put them into the bag. I also like to open the door of my oven occasionally if there's lots of condensation. Also, did you poke holes into your bags?
Should you smell the nice fermentation aroma? I did smell the nice nutty scent the first time using zip lock bags.
I tried again using a glass dish which resulted in no aroma ,mycelium only at the bottom and dry beans on top. Also my starter is over a year old.
Would an un opened starter pack with the same date be OK?
Hmm it might have to do with your starter, how did you store it? It should be kept at a dark, cool place (like the fridge). Even unopened once I keep in the fridge. 🙂
This might sound ridiculous, but I made tempeh, and I think it worked, but I'm a little nervous to eat it! So silly. Anyway, what is your favorite way to prepare your homemade tempeh?
To the sarahsveganguide.com admin, Thanks for the well-researched and well-written post!
Thank you for your excellent info. I have just one question when you refer to the temperature, is it the surrounding air temperature or the temperature of the tempeh itself?
Hi Christine, thanks for your question. It is the air temperature.
Thank you so much for this article!! It is very clear and detailed. I appreciate you putting g this together for others like me to benefit from it.
can’t wait to make my first batch of Tempeh, probably with black beans or small white beans. I want to avoid the soy because of the estrogen in it, especially as I am on HRT.